Showing posts with label tutorial. Show all posts

Saturday, April 23, 2011

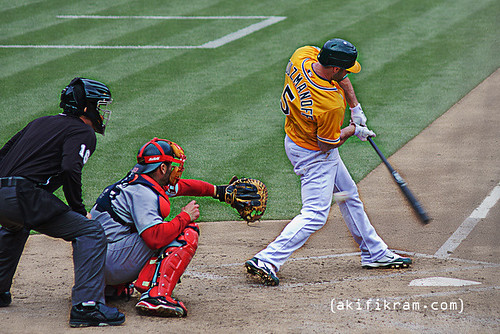
Athletics vs. Red Sox

Strike!!!

I went to see the Boston Red Sox play the Oakland A's at the Oakland Coliseum on April 20. The weather was cloudy with a chance of rain. And you're not supposed to take back-packs to the game either.

So most of my gear stayed home, and I just took my 40D with the 70-210mm f/4 lens - in a shopping bag.

Friday, March 11, 2011

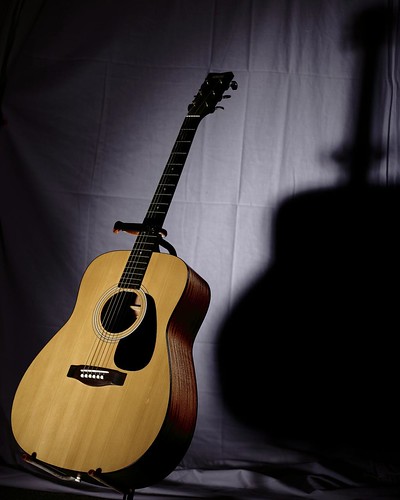
Dissecting "I Still got the Blues..."

I still got the Blues...
As I mentioned in my last post, I've been taking a few pictures of my acoustic guitar. I decided to get something a bit dramatic, playing with some light and shadows.

Continue for details...

Monday, February 21, 2011

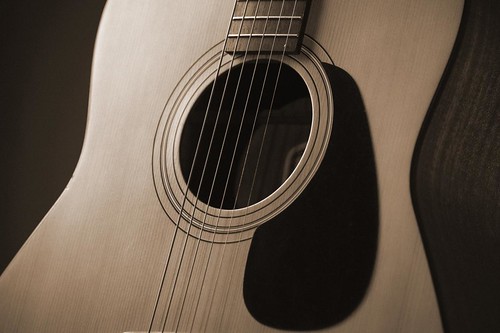
My Yamaha Guitar

Old Film Acoustic Guitar
Several years ago, I used to play the guitar.  I've sort of given it up since I took up photography.  Didn't make a conscious decision, but rather have just not made the time needed to keep practicing.  Over time, the callused fingers heal, the finger-strength and speed diminish, and after a bit longer, the finger memory goes.  Now you have to actually think about what notes to play next.

Thursday, February 3, 2011

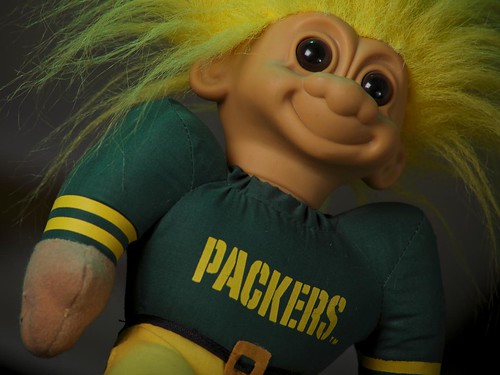
Go Packers!!!

_MG_0467
The Green Bay Packers are in the Super Bowl.  It has been several years since their last trip, and I am very optimistic for the win.


Friday, December 10, 2010

Phone Bouncer

I call this self-portrait the "phone bouncer".  The idea is that if someone picks up my phone, they have to go through this tough guy to get inside, and they better be on the guest list :-)

Friday, December 3, 2010

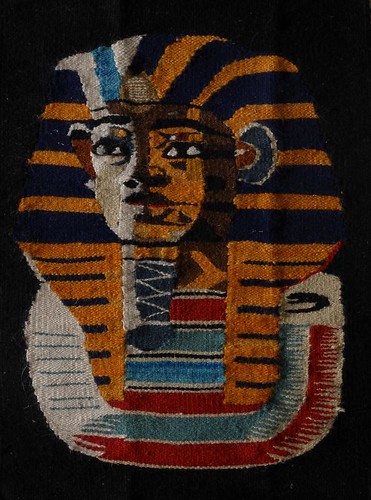
Egyptian Tapestry

Tapestry from Egypt
A simple photograph of a tapestry I got from Egypt last year.

The thing to notice is that the texture is perfectly shown, and you can tell exactly what kind of material it's made out of.

That was my goal - to reproduce it as closely as possible.  The viewer should feel that they are looking at the actual object, or to put it another way... if they see the actual tapestry, they shouldn't be surprised at how it looks and displays.

Continue for the technical details ...

Tuesday, November 23, 2010

Wise Man Statue

Elderly wise man statue from the Serengeti, Tanzania
This is a little trinket that I brought from the Serengeti (I never completed the "Places I've seen" series, but beyond Europe was Giza, Egypt and then a safari in Tanzania).

I really like the 3D look of this photograph.

Continue for the technical details ...

Tuesday, November 16, 2010

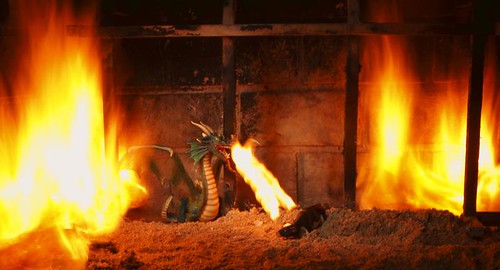
Medieval Barbecue

Medieval Barbecue
Out shopping, I came across a toy dragon. I thought it looked cool, so it went into the cart. As I continued shopping, I imagined it breathing fire at a small animal - I liked the cow, so got that as well.

As I imagined the final shot, I began building the scene around it - fire, ashes, bricky type building, etc.

Saturday, August 15, 2009

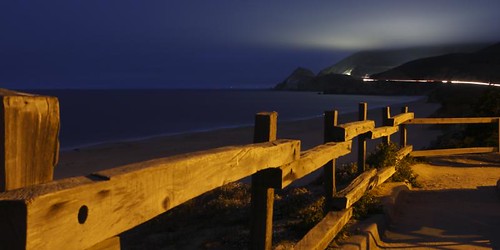
Montara State Beach

Last week, I went to Montara State Beach on California Highway 1, north of Half Moon Bay. Didn't have a lot of time, so ended up taking just a couple of photographs... one of the scene and a self-portrait.

I think this one came out pretty nicely.
Montara State Beach, California

I then took a self-portrait. You can see the flash in the photo - no time to set up stands, etc. I could have photo-shopped it out, but chose not to spend the time. Kind of gives it a "real" feeling to me.

Sunday, July 12, 2009

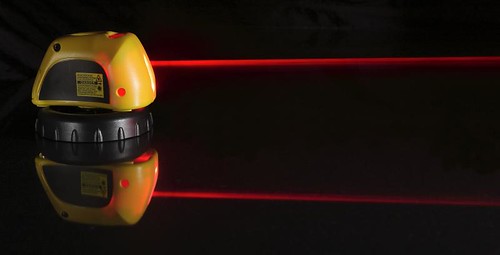
Photographing Laser Light

_MG_7210_2
My attempt at a technique taught by Dean Collins for photographing beams of light.

Light itself is invisible. Think of your car headlights. You don't see the light coming out of the headlights, but rather the areas where it hits.

To photograph it, you make the light beam visible by making it "hit" something in all the areas you want it to show up in your photograph. Pretty simple concept and pretty simple to do.

Sunday, July 5, 2009

Photographing Fireworks

Every year around the 4th of July and New Year's Day, there are several people asking for advice on how to photograph the upcoming fireworks. It seems that the questions are almost always the same, just new people asking them.

I'll share my technique and offer some tips. If you're a seasoned photographer, then most, if not all, will be redundant. Other people should hopefully find this useful.

In some ways, this article is late by a couple of days; being written on July 5th. Or you can see the glass as half-full, and realize that you now have many months to get ready :-)

Quick Guide
Preparation
  • Set your camera to ISO: 100, Aperture: f/11, Shutter Speed: Bulb
  • Turn off Long Exposure NR (on my camera, it doubles the time for an exposure - essentially forcing a break between photographs)
  • Put the camera on a tripod, with remote release cable attached
  • Set the zoom on your lens to cover the desired area
  • Set your lens to manual focus, and focus on infinity
The Photographs
The Fireworks
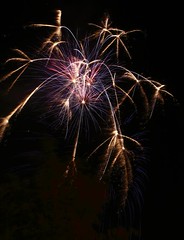
As the fireworks go off, anticipate the bursts and shoot away. Take as many photographs as you can. You may end up throwing away a bunch of them.

You can usually see the rocket go up before it explodes. Press the shutter as it's going up and keep it pressed till the sparks fall off.

The longer you keep the shutter pressed, the more fireworks you'll capture in that photograph.

Beyond that it's practice. Anticipating the bursts, capturing cool shapes, keeping the photos from being too busy, etc. comes from experience. The more you shoot, the better you'll get.